
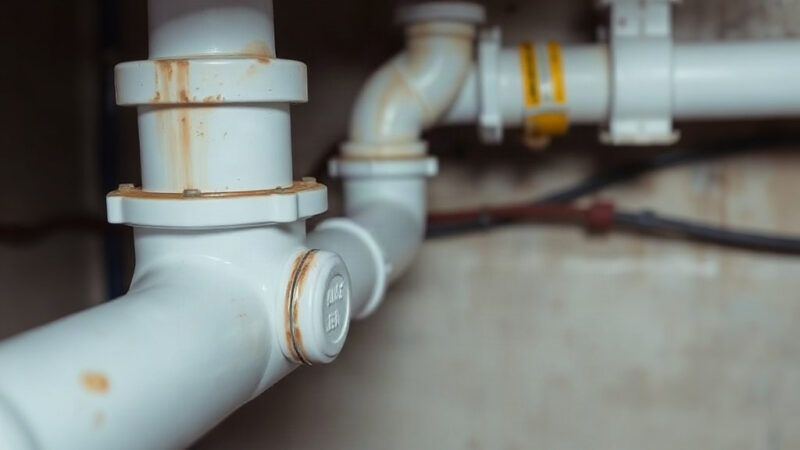
A pipe joint leak can start as a single drop under a kitchen sink and end as a swollen cabinet floor, a spike in your water bill, and a weekend lost to repairs. Most homeowners discover the problem only when water stains appear or the ceiling below turns soft. The useful question is not whether joints fail, but how to recognize a failing joint early and stop it. This guide explains what a pipe joint is, why leaks form there, and which habits keep connections dry for years. You can also find broader plumbing troubleshooting notes at //blogbbw.net/ if you want to read more around the subject.
Quick answer: A pipe joint leak is water escaping at the point where two pipe sections or a pipe and a fitting meet. Shut off the water, dry the area, and identify whether the joint is threaded, soldered, compression, or push-fit before you attempt a repair. Tightening or re-sealing the correct type of joint usually fixes a small leak; a cracked fitting or corroded pipe calls for replacement.
What is pipe joint leak?
A pipe joint leak happens where two pieces of plumbing meet and the seal between them fails. That meeting point could be a threaded connection, a soldered copper seam, a compression nut, a push-fit collar, or a rubber gasket inside a plastic drain fitting. Each design seals differently, so each fails for its own reasons.
Water finds the path of least resistance. A joint that held for a decade can begin weeping because the sealant dried, a nut loosened from vibration, or minerals ate into the metal. On supply lines, the leak often shows as a fine mist or a slow drip that evaporates before it reaches the floor. On drain lines, it shows as a dark stain, a musty smell, or water pooling only when the fixture runs.
Location tells you a lot about severity. A leaking joint under a sink is annoying but contained. The same leak inside a wall or under a slab can rot framing, feed mold, and damage a foundation before anyone notices. Supply joints sit under constant pressure, so a small failure can worsen quickly. Drain joints carry water only intermittently, which makes them easier to miss.
You can often tell which type of joint you have by looking at it:
- Threaded joints use Teflon tape or pipe dope on metal-to-metal threads.
- Soldered joints show a ring of solder at the seam on copper pipe.
- Compression joints have a visible nut and a brass ferrule on copper or plastic.
- Push-fit joints click onto the pipe and rely on an internal O-ring.
- Solvent-welded joints on PVC show a purple primer stain around the fitting.
Each one gives you a clue about how to repair it. A compression nut that drips usually needs a quarter turn or a new ferrule. A soldered seam that weeps needs to be cut out and re-sweated. Guessing wrong wastes time and can make the leak worse.
Supply joints leak under steady pressure and often fail fast. Drain joints leak only when water flows, so a slow drip can stay hidden for months.
Takeaway: Identify the joint type before touching anything. The label on the fitting often determines whether you tighten, re-seal, or replace.
Why pipe joint leak matters
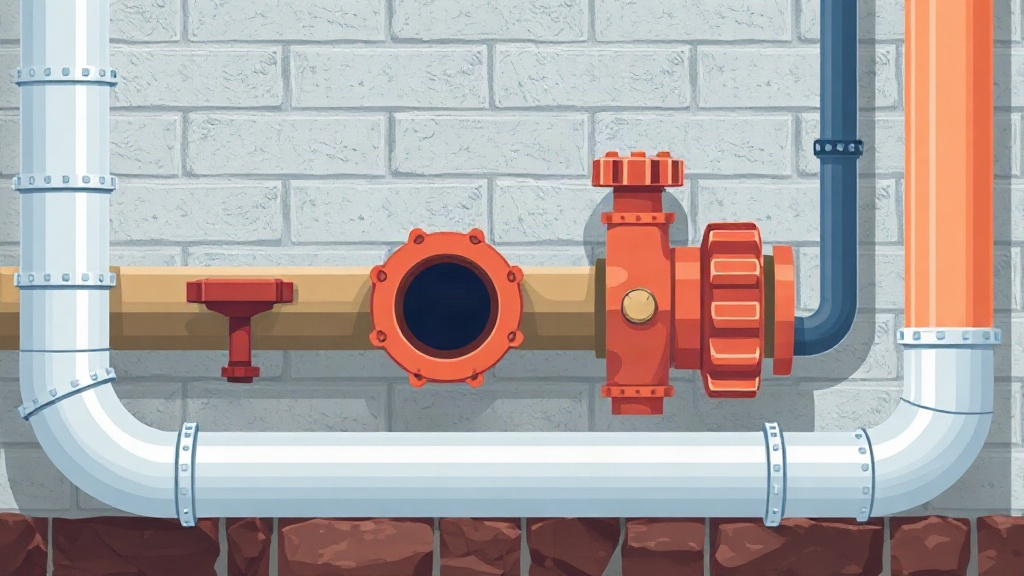
The cost of a joint leak rarely stops at the repair bill. Water damage compounds: a drip that soaks drywall for a week can turn a minor fix into a project involving insulation, paint, and mold remediation. Insurance may cover sudden damage, but many policies exclude long-term seepage that a homeowner should have noticed.
Health and safety add weight. Standing water under a cabinet or in a crawl space encourages mold, which can affect allergy and asthma symptoms indoors. A leak near electrical outlets or a water heater creates a shock hazard. In cold climates, a slow drip can freeze, expand, and split the pipe outright.
Water waste is easy to underestimate. A joint dripping once per second can waste a meaningful volume of water over a month, and that shows up on metered bills. Small leaks also raise humidity in closed spaces, which damages wood cabinets, warps flooring, and rusts appliances nearby. You can read more plumbing-damage context at //report-e.com/ if you want to understand how these failures affect a home.
Timing matters more than most people expect. A leak found within a day is usually a cheap fix. The same leak found after a season of slow seepage often means replacing subfloor, drywall, or a section of pipe. Early detection is the cheapest insurance you can buy.
The visible drip is rarely the biggest problem. Water travels along pipe runs and framing, so damage often appears far from the actual joint.
Takeaway: Treat every joint leak as urgent even when it looks minor. The hidden cost of moisture almost always exceeds the cost of the repair.
Best practices
Good habits prevent most joint failures before they start. Start with the right materials. Use joint compound or tape rated for the specific pipe material, and never mix metal and plastic fittings without a dielectric union, which prevents galvanic corrosion. Threads should be clean before you wrap them; debris under tape creates a channel for water.
Follow the manufacturer’s torque and depth. Over-tightening a compression nut crushes the ferrule and causes leaks; under-tightening leaves a gap. Push-fit fittings need the pipe cut square and pushed fully home, usually marked at the insert depth. Soldered copper needs a clean, fluxed surface and enough heat to draw solder into the joint, not just around it.
Support the pipe. A joint stressed by sagging pipe or vibration from a pump will loosen over time. Add clamps or hangers so the joint carries no weight. On outdoor or exposed lines, protect joints from freezing with insulation.
Inspect on a schedule. Check under sinks, behind the washing machine, and around the water heater twice a year. Look for green or white crust on copper, rust on steel, and soft spots on drywall. A flashlight and a dry paper towel reveal a slow weep quickly.
After any joint repair, run water at full pressure for several minutes and dry the joint with a tissue. A dry tissue after five minutes is your best confirmation.
Takeaway: Correct materials, proper torque, and routine inspection prevent the majority of joint leaks.
Common mistakes to avoid
The most common mistake is tightening a leak without understanding it. Cranking a compression nut that is already crushed makes the leak worse, and over-tightening a threaded plastic fitting can crack it. If a quarter turn does not stop the drip, stop and diagnose.
Another frequent error is repairing a joint without addressing the cause. If corrosion or water pressure caused the failure, a fresh joint will fail the same way. Check water pressure with a gauge; readings above the typical residential range strain every joint in the system.
Skipping the shutoff and cleanup is a classic misstep. Repairing a live line wastes water and risks a spray. Always shut off the supply and drain the line first, then dry the area so you can see fresh water if the leak persists.
People also ignore the warning signs. A faint musty smell, a bubbling paint line, or a water bill that creeps up are all clues. Waiting for visible pooling means the damage has already spread.
Finally, avoid mixing incompatible materials. Steel fittings on copper pipe cause corrosion at the joint within months. Use the correct adapter and keep the metals separated.
Takeaway: Diagnose before you tighten, fix the root cause, and never ignore early warning signs.
FAQ
How much does it cost to fix a pipe joint leak?
Costs vary widely by joint type and location. A simple compression or threaded joint repair is often inexpensive, while a joint inside a wall adds labor for opening and closing the surface. Get a written estimate before work begins.
Can I fix a pipe joint leak myself?
Threaded, compression, and push-fit joints are reasonable DIY repairs for careful homeowners. Soldered copper and gas-line joints are better left to a licensed plumber. Shut off the water first and know your limits.
How do I know if a joint leak is serious?
Any leak on a pressurized supply line is serious because it can worsen fast. A drip inside a wall, ceiling, or near electrical wiring needs prompt professional attention. A slow drain joint weep is less urgent but still worth fixing.
How long can a leaking joint last before failing completely?
There is no fixed timeline. A weeping supply joint can worsen within hours, while a slow drain seep can persist for months. Treat any active leak as a problem to solve now rather than later.
Should I use tape or pipe dope on threaded joints?
Either works when applied correctly. Tape is clean and consistent; pipe dope fills small imperfections. Do not use both on the same joint, and match the product to the pipe material.
Conclusion
A pipe joint leak is a small failure with outsized consequences. Identify the joint type, fix the root cause, and test the repair under full pressure before you call it done. Routine inspection catches most problems while they are still cheap. If you are unsure about a joint inside a wall or on a pressurized line, call a licensed plumber rather than guessing. Your next step is simple: check the joints under your sinks this week, dry them, and watch for moisture.
