
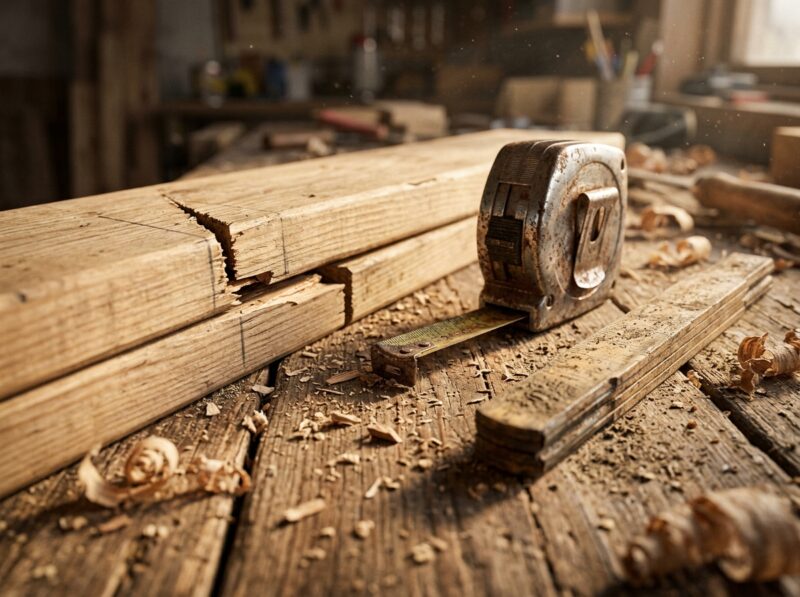
You measure twice, mark the line, make the cut—and the piece still comes up short. It’s one of the most frustrating moments in any workshop, and it usually traces back to something tiny: a hook that wasn’t fully seated, a blade read at an angle, or a mark made on the wrong side of a pencil line. Part of the problem is how easily small errors hide inside the tools we trust, including the small diamonds on tape measure blades that mark every inch. This article explains why tiny measuring slips snowball into ruined cuts, and how to stop them before they cost you material.
Quick Answer
Small measuring mistakes become big cutting problems because cutting removes material permanently, and every error compounds. A 1/16-inch measuring error can double or triple once you account for blade kerf, a tilted pencil line, and a mark placed on the wrong side of the line. Unlike measuring, cutting is a one-way operation. Once the saw passes the line, the material is gone, and there is no way to add it back—only to start over with a new piece.
Key Takeaways
- Cutting is subtractive, so any measuring error is permanent by the time you notice it.
- Mistakes compound: a bad mark, a tilted blade, and kerf width can stack into a visible gap.
- Most measuring errors come from technique, not from inaccurate tapes.
- Marking the wrong side of a pencil line, or cutting to the wrong side, is one of the most common causes of short parts.
- Consistent reference points and a quick double-check catch errors while they are still fixable.
Why a Tiny Error Gets So Much Bigger Once You Cut
Measuring is reversible. If a number looks wrong, you can re-measure, adjust, or start over with no cost except time. Cutting is not. The saw removes material along a fixed path, and once that path is cut, the piece has changed permanently. That asymmetry is the core reason small slips matter so much: they enter a system that has no undo button.
There is also a compounding effect. A single measurement might be off by only 1/16 inch, which sounds harmless. But that error rarely travels alone. It stacks with a pencil line that is itself about 1/32 inch wide, a blade that wanders slightly off square, and the saw kerf—the width of material the blade turns into dust. Add them together, and a cut that should fit perfectly can leave a visible gap or a joint that won’t close.
The Hidden Error Sources You Probably Aren’t Counting
Most people assume a bad cut means a bad tape measure. In practice, tapes are usually accurate; the errors come from how they are used. Understanding these sources is the fastest way to reduce them.
Hook Endplay and How You Pull the Tape
The metal hook at the end of a tape measure is designed to slide by roughly the thickness of the hook itself. That movement is intentional: it lets the tape read correctly whether you are measuring an inside dimension (hook pushed in) or an outside dimension (hook pulled out). The problem is that the hook can also catch on an edge, sit at an angle, or fail to seat fully. If it doesn’t seat, your reading is short by a small but real amount—often enough to matter on a finish cut.
Reading the Wrong Diamond or Graduation
On many tape measures, the diamond marks—the small black diamonds spaced along the blade—indicate 19.2-inch intervals, which are used for spacing engineered floor joists and similar framing. They are not inch marks, and they are not meant for general measuring. Reading a diamond as a regular graduation, or misreading the smaller 1/16 and 1/32 marks in low light, produces an error that looks correct on the blade but is wrong in reality. This is especially common on fast, repetitive cuts where the eye grabs the nearest mark instead of the precise one.
Pencil Line Width and Which Side You Cut
A pencil mark is not a hairline; it has width, often around 1/32 inch or more depending on the pencil and pressure. If you cut down the center of the line, you remove part of the mark, and your part can end up slightly long or short depending on the blade path. If you cut on the wrong side of the line—the waste side instead of the keep side—you can lose the entire line width from the finished piece. On a single cut, the difference is small; on a project with many parts, those differences accumulate into a frame that won’t square up.
How Mistakes Compound Across Multiple Cuts
A single small error is annoying. A repeated small error is destructive. This is why measuring problems get worse on projects with many identical parts, such as shelving, cabinet face frames, or repeated studs.
Consider cutting six pieces that should each be 12 inches. If each measurement is off by 1/16 inch in the same direction, the parts are still roughly consistent with each other, so the assembly may work. But if the errors alternate—some long, some short—the parts no longer match, and joints that should align won’t. The worst case is when one part is measured from an existing cut edge instead of a fixed reference, so each new error builds on the previous one. This is sometimes called error stacking, and it is the reason experienced makers measure every part from the same reference point rather than from the last piece.
A Simple Check That Catches Errors Before the Saw Starts
The fix is not more measuring; it is better verification. A quick, consistent routine catches most small errors while they are still free to correct.
- Seat the hook fully. Push or pull the hook firmly against the reference edge so it can’t tilt or catch.
- Read at eye level. Look straight down at the mark, not at an angle, to avoid parallax error.
- Confirm the graduation. Double-check that you are reading inch marks, not diamond marks or the wrong scale.
- Mark with a fine line. Use a sharp pencil or a marking knife for a thin, precise line.
- Decide the cut side before cutting. On a “cut to fit” part, know whether the line is the keep edge or the waste edge.
- Re-measure the marked piece, not the original. Verify the actual distance from the reference edge to the mark.
- Check the first cut before repeating it. Cut one piece, test the fit, then use it as the template for the rest.
Measuring Errors vs. Cutting Errors: Which One Is Actually Costing You?
It helps to separate the two, because they need different fixes. A measuring error means the number or mark was wrong before the saw touched the material. A cutting error means the mark was correct, but the cut drifted, tilted, or landed on the wrong side of the line. In practice, many “measuring” complaints are actually cutting errors, which is why simply re-measuring doesn’t always solve the problem.
| Problem | Typical Cause | Best Fix |
|---|---|---|
| Part consistently short | Hook not seated, or cut on the wrong side of the line | Seat the hook firmly; mark the waste side clearly |
| Parts don’t match each other | Measuring from the previous cut instead of a fixed reference | Measure every part from the same reference point |
| Joint won’t close | Blade tilt or kerf not accounted for | Check blade squareness; account for kerf width |
| Inconsistent lengths in a batch | Reading different graduations or inconsistent marking | Use the same graduation and marking method every time |
Practical Habits That Prevent Expensive Rework
The most reliable protection isn’t a better tape—it’s a repeatable process that removes guesswork. Measure from a single fixed reference whenever possible, and avoid chaining measurements from one cut edge to the next. When a fit matters, cut slightly long and sneak up on the final dimension with a second, lighter pass. Keep your marks consistent in size and direction so you never have to guess which side of the line is the waste. And when you’re cutting many identical pieces, cut one, verify it against the actual opening or mating part, and only then use it as the template for the rest.
It also helps to accept that no measuring tool is perfect and no cut is infinitely precise. The goal isn’t zero error; it’s keeping error small enough that it stays hidden inside the joint, the gap, or the tolerance the project allows. That shift in mindset—from “measure perfectly” to “manage error deliberately”—is what separates work that fits from work that gets remade.
Frequently Asked Questions
Why does my tape measure seem accurate but my cuts still come out wrong?
Because the tape is only one part of the process. A correctly read tape can still produce a bad cut if the mark is placed on the wrong side of the line, the blade tilts, or the kerf isn’t accounted for. The tape is usually fine; the surrounding technique is where the error enters.
What are the diamond marks on a tape measure actually for?
They typically mark 19.2-inch intervals, which allow five joists or studs to fit evenly across an 8-foot span. They are a spacing guide for framing, not a substitute for inch graduations, and they should not be read as regular inch marks.
Should I cut on the line, or next to it?
On a “cut to fit” part, cut on the waste side of the line and leave the line itself on the finished piece when possible. That preserves the full marked dimension. Always decide which side is the waste side before the saw starts.
How do I stop errors from building up across several cuts?
Measure every part from the same fixed reference point instead of from the previous cut. Chaining measurements from one part to the next lets each small error carry forward, which is how a 1/16-inch slip becomes a visibly mismatched set. Cut one test piece, verify it, then repeat from that verified template.
Does blade kerf really matter on small cuts?
Yes. Kerf is the material the blade removes, and it can be a meaningful fraction of a small dimension. On tight-fitting parts, ignoring kerf can leave a piece short or a joint loose. Account for it when the fit is critical.
Is it better to measure once carefully or measure twice quickly?
Measure once carefully, then verify the mark rather than repeating the same measurement. Re-measuring the same way often reproduces the same error. Verifying from a different reference or checking the marked piece catches mistakes that a repeat measurement misses.
Conclusion
Small measuring mistakes turn into big cutting problems because cutting has no undo. A slightly misread graduation, a hook that didn’t seat, or a mark on the wrong side of the line all enter a process where the material is removed permanently—and where kerf, blade tilt, and repeated cuts let those small errors stack up. The practical fix is a consistent routine: measure from a fixed reference, mark clearly, decide the waste side before cutting, and verify the first piece before repeating it. Do that, and the tiny slips stay tiny instead of turning into wasted material.
