

An angle grinder is a versatile tool, essential for cutting, grinding, and polishing in workshops and DIY projects. However, like any power tool, its motor can develop issues over time, leading to reduced performance or complete failure. A faulty angle grinder motor doesn’t always mean it’s time for a replacement—many problems can be fixed with basic troubleshooting and repairs. This guide covers common angle grinder motor issues, step-by-step fixes, and maintenance tips to keep your tool running smoothly. Whether you’re a professional or a hobbyist, these solutions are designed to save you time and money.
Understanding Angle Grinder Motor Problems
Before diving into fixes, it’s helpful to understand how an angle grinder motor works. Most angle grinders use either a brushed or brushless electric motor. Brushed motors rely on carbon brushes to deliver power, while brushless motors use electronic controllers for efficiency. Common motor issues include:
- Loss of Power: The grinder struggles to cut or grind effectively.
- Sparking or Arcing: Excessive sparks inside the motor housing.
- Overheating: The tool feels hot or shuts off during use.
- No Start: The grinder doesn’t turn on at all.
- Grinding Noises: Unusual sounds during operation.
These symptoms often stem from worn components, electrical faults, or debris buildup. Let’s explore easy fixes for each issue.
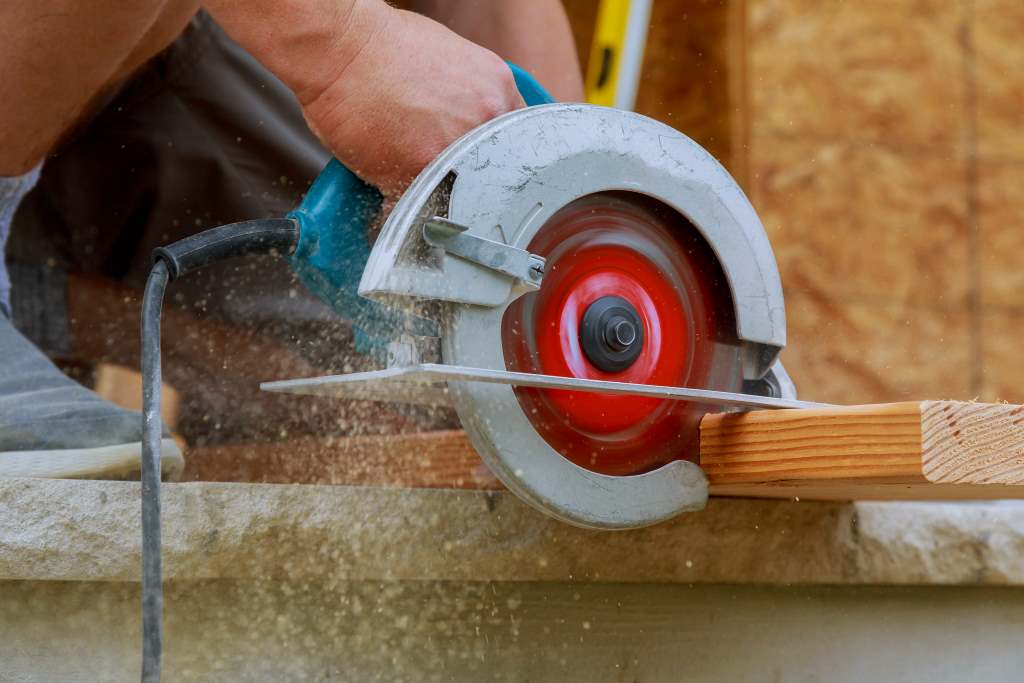
Tools and Safety Precautions
Before starting any repair, gather these tools:
- Screwdriver set
- Multimeter
- Replacement carbon brushes (if applicable)
- Compressed air or a small brush
- Lubricating oil
- Wrench or pliers
Safety First:
- Unplug the grinder from the power source.
- Wear safety gloves and goggles to protect against debris.
- Work in a well-ventilated, well-lit area.
- Refer to your grinder’s manual for model-specific instructions.
Common Fixes for a Faulty Angle Grinder Motor
1. Inspect and Replace Carbon Brushes
Carbon brushes are a common culprit in brushed motor grinders. These small components transfer electricity to the motor’s armature, but they wear down over time.
Symptoms: Loss of power, excessive sparking, or the grinder stopping intermittently.
Fix:
- Locate the Brushes: Most grinders have brush caps on either side of the motor housing. Remove the caps with a screwdriver.
- Check Wear: Pull out the brushes. If they’re less than ¼ inch long or show uneven wear, replace them.
- Clean the Holders: Use compressed air or a small brush to remove dust from the brush holders.
- Install New Brushes: Insert replacement brushes (ensure they match your model) and secure the caps.
- Test the Grinder: Plug in the tool and run it briefly to ensure smooth operation.
Tip: Always replace brushes in pairs to maintain balance. Keep spares on hand for quick fixes.
2. Clean the Motor and Armature
Dust and debris from grinding can accumulate inside the motor, causing overheating or reduced performance.
Symptoms: Overheating, unusual smells, or sluggish operation.
Fix:
- Disassemble the Housing: Remove the screws securing the grinder’s housing to access the motor.
- Blow Out Debris: Use compressed air to clear dust from the motor, armature, and vents. Avoid high pressure, which can damage components.
- Inspect the Armature: Check for burn marks or worn commutator bars. Lightly sand the commutator with fine sandpaper (600-grit) if it’s dirty or pitted.
- Reassemble and Test: Secure the housing and run the grinder to check for improvements.
Tip: Perform this cleaning every 50 hours of use to prevent buildup.
3. Check the Power Cord and Switch
A damaged power cord or faulty switch can mimic motor problems, preventing the grinder from starting or causing intermittent power loss.
Symptoms: No start or erratic operation.
Fix:
- Inspect the Cord: Look for frayed or exposed wires. Use a multimeter to test continuity. If damaged, replace the cord with one matching your grinder’s specifications.
- Test the Switch: Set the multimeter to continuity mode and test the switch terminals. If there’s no continuity when the switch is on, replace it.
- Reconnect Wires: Ensure all connections are secure before reassembling.
Tip: Avoid yanking the cord during use to prevent future damage.
4. Address Overheating Issues
Overheating can result from overuse, blocked vents, or a strained motor.
Symptoms: Hot housing, automatic shutoff, or burning smells.
Fix:
- Check Vents: Ensure air vents are clear of debris. Use compressed air to clean them.
- Reduce Load: Avoid forcing the grinder through tough materials. Use the correct disc for the job (e.g., cutting vs. grinding discs).
- Lubricate Bearings: If the motor bearings are dry, apply a few drops of light machine oil to reduce friction.
- Rest the Tool: Let the grinder cool down for 10–15 minutes after heavy use.
Tip: Invest in a grinder with thermal overload protection for long-term reliability.
5. Troubleshoot Electrical Faults
If the grinder doesn’t start, the issue may lie in the motor’s electrical components, such as the armature or field coils.
Symptoms: No start or weak performance despite new brushes.
Fix:
- Test the Armature: Use a multimeter to check for continuity between commutator segments. No continuity indicates a broken winding—replace the armature or consult a professional.
- Inspect Field Coils: Check for burn marks or melted insulation. Test continuity with a multimeter. Replace faulty coils if needed.
- Check Capacitors: Some grinders have start capacitors. If swollen or leaking, replace them with an identical model.
Tip: Electrical repairs can be complex. If unsure, take the grinder to a certified repair shop.
6. Fix Grinding Noises
Unusual noises often point to mechanical issues, such as worn bearings or gears.
Symptoms: Squealing, grinding, or rattling sounds.
Fix:
- Inspect Bearings: Remove the motor housing and check for wobbly or stiff bearings. Replace them if damaged.
- Check Gears: Look for worn or misaligned gears in the gearbox. Apply gear grease if dry, or replace damaged gears.
- Tighten Loose Parts: Ensure all screws and components are secure.
Tip: Use high-quality replacement parts to avoid recurring issues. Also, explore 5 Must-Have Tools You Need In Your Research Lab.
Preventive Maintenance Tips
To extend your angle grinder’s motor life, follow these habits:
- Regular Cleaning: Clean the tool after each use to prevent dust buildup.
- Proper Storage: Store the grinder in a dry, dust-free environment.
- Use the Right Accessories: Match discs and attachments to the grinder’s RPM rating.
- Avoid Overloading: Let the tool do the work—don’t apply excessive pressure.
- Schedule Inspections: Check brushes and bearings every few months.
When to Seek Professional Help
While many motor issues are DIY-friendly, some require expert attention:
- Severe armature or field coil damage
- Persistent sparking after brush replacement
- Complex electrical faults
- Warranty-covered repairs (check your manual)
Contact the manufacturer or a certified repair center to avoid voiding warranties or causing further damage.
Conclusion
A faulty angle grinder motor can disrupt your projects, but most issues are fixable with basic tools and know-how. By inspecting brushes, cleaning the motor, checking electrical components, and performing regular maintenance, you can restore your grinder’s performance and extend its lifespan. Always prioritize safety and consult professionals for complex repairs. With these easy fixes, your angle grinder will be back to tackling tough jobs in no time.
Ready to revive your angle grinder? Start with these steps and keep your tool in top shape for years to come.
